Swimming for Beginners: 4 Tips to Start Without Drowning in Confusion
I still remember the first time I stood at the edge of a lap pool at age 34, clutching a kickboard like a life raft, my goggles fogging up before I even got wet. Every other lane seemed filled with people who glided effortlessly, breathing in perfect rhythm, while I could barely manage two strokes without gasping. If that sounds familiar, you're not alone—and you're definitely not too old, too out of shape, or too scared to start. Swimming for beginners doesn't have to mean drowning in confusion or embarrassment. Here are four tips that helped me go from flailing to floating, and finally to actually enjoying my swims.
Why Swimming is the Perfect Low-Impact Exercise for Adults (and Why You’re Not Too Old to Start)
When I told my friends I was taking adult swimming lessons, the most common reaction was a surprised, “Wait, you don’t know how to swim?” That question stings, but it’s also a reminder that many adults secretly feel the same way. The truth is, swimming is one of the few exercises that works every major muscle group without punishing your joints. For anyone dealing with knee pain, back issues, or just the general creakiness of life past 30, the water offers a rare gift: resistance without impact.
But the biggest barrier isn’t physical—it’s mental. Fear of water, fear of looking foolish, and the belief that you “should have learned as a kid” keep thousands of adults on the sidelines. The Mayo Clinic confirms that swimming improves cardiovascular fitness, builds endurance, and even reduces stress, but you don’t need a study to tell you that floating weightless feels good. What you need is permission to start exactly where you are. I started at 34, unable to put my face in the water without panicking. Six months later, I swam my first continuous 500 meters. The key wasn’t talent—it was the right approach.
Tip #1: Banish the ‘Sink or Swim’ Myth—Start with Water Acclimation and Breath Control
The biggest mistake I made in my first week was trying to swim before I was comfortable just being in the water. I’d hop in, immediately try to do freestyle, and end up gasping and grabbing the wall after 10 seconds. That’s not swimming—that’s survival panic.
The real first step is water acclimation. Spend at least two sessions doing nothing but walking in the shallow end, putting your face in the water, and blowing bubbles. Sounds silly, right? But it rewires your brain to associate water with breath control, not drowning. Try this drill: stand chest-deep, take a deep breath, then slowly squat until your head is submerged. Exhale through your nose or mouth in a steady stream of bubbles. Stand up, inhale, repeat. Do this for five minutes. It’s called “bobbing,” and it’s the foundation of every stroke you’ll ever learn.
Next, practice floating on your back. If you can float, you can rest anytime you feel tired—that alone kills the fear. Lie back with your ears submerged, look straight up at the ceiling, and let your belly rise. Most people sink when they lift their head or tense their shoulders. Relax your neck and let the water hold you. When I finally floated for 30 seconds without flailing, I felt like I’d unlocked a secret level.
Once bobbing and floating feel natural, move to breath control drills. Hold the wall, take a breath, put your face in the water, and exhale completely. Then turn your head to the side, take a new breath, and repeat. The goal is to make exhaling underwater automatic—because the number one reason beginners get winded is they hold their breath while swimming. Exhale constantly, and you’ll be amazed how much easier it gets.
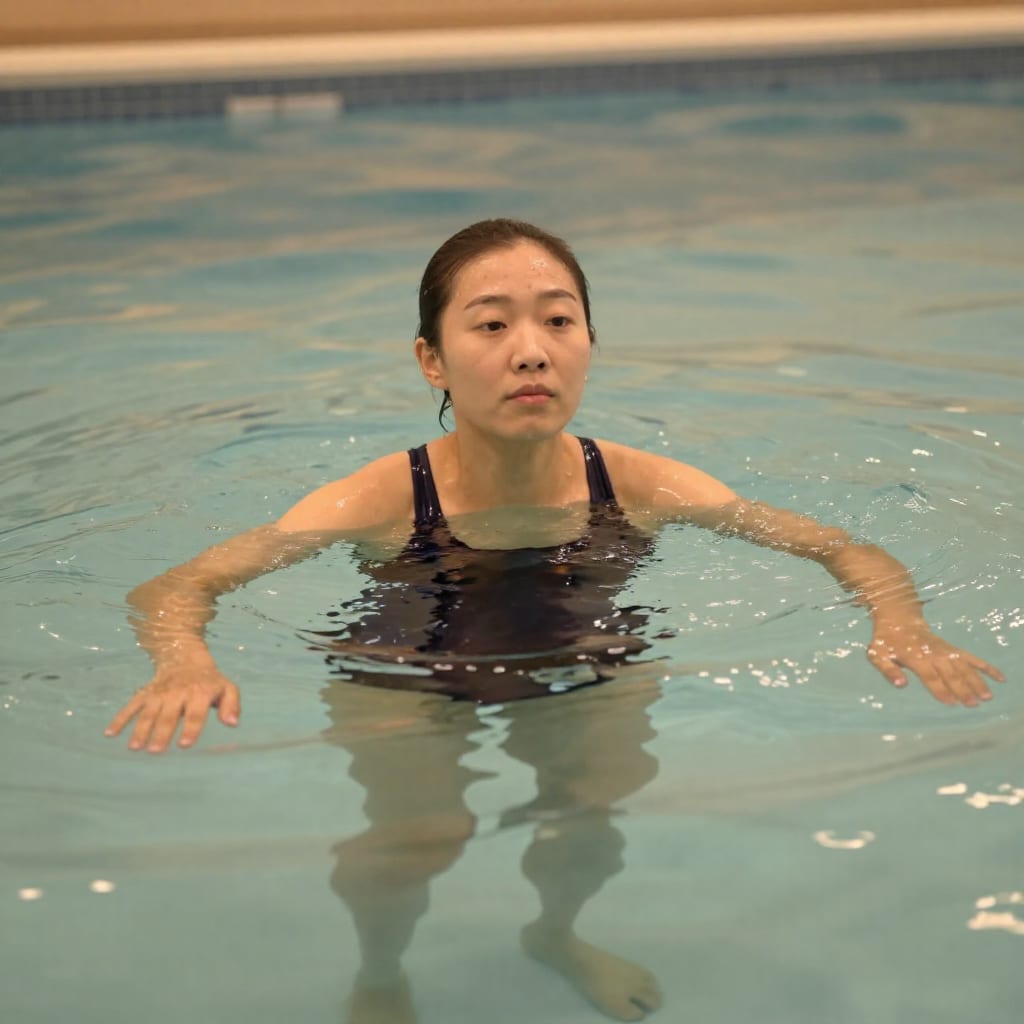
Tip #2: Forget Freestyle First—Master the ‘Survival Strokes’ That Build Real Confidence
When I told my instructor I wanted to learn freestyle, she gently steered me toward something far more practical: the elementary backstroke. “You can breathe whenever you want,” she said, “and you can see where you’re going if you look at the ceiling.” She was right. Freestyle demands rhythmic breathing, body rotation, and coordination that can overwhelm a beginner. Survival strokes—the ones that keep your face out of the water—build confidence fast.
Elementary backstroke is my top recommendation for total beginners. Lie on your back, arms at your sides. Simultaneously sweep both arms upward along your body until they meet overhead, then sweep them back down to your sides. Meanwhile, do a frog kick: bend your knees, bring your heels toward your hips, then kick outward and together. It’s slow, steady, and you can breathe naturally. I practiced this for three weeks before attempting anything else.
Breaststroke is another great option, but only if you use a pull buoy between your thighs to keep your legs afloat. Without it, many beginners sink their hips and struggle. The breaststroke pull—a simultaneous outward and inward sweep of the arms—feels intuitive, and the frog kick is the same as in elementary backstroke. Keep your head above water and breathe every stroke. It’s not the fastest stroke, but it’s the most forgiving for new swimmers.
Finally, sidestroke is worth learning early, especially if you ever plan to swim in open water or just want a restful stroke. You lie on your side, scissor-kick, and pull with your bottom arm while your top arm glides forward. It’s the stroke used in lifeguarding for a reason: it’s efficient and calm. When I first swam 100 meters without stopping using sidestroke, I realized I wasn’t a hopeless case—I just needed the right tool.
Tip #3: Use Simple Drills and Tools to Fix Your Form Without a Coach
You don’t need a personal trainer to improve your swimming form—just a few drills and the right gear. The biggest form killers for beginners are dragging hips (which creates drag) and crossing your arms past the centerline (which wastes energy). Here are three drills I used that made a huge difference.
The catch-up drill is my favorite for arm position. Push off the wall, do freestyle with one modification: keep both arms extended forward until the pulling arm finishes its stroke and returns to meet the other. This forces you to keep one arm straight ahead, which stops you from crossing over and keeps your body long. Do this for 4–6 laps, focusing on a slow, smooth motion.
6-kick switch targets body rotation and breathing. Push off on your side (left side, left arm extended, right arm along your hip). Take six kicks, then take one stroke to rotate to your right side and kick six more. Repeat. This drill teaches you to breathe by rotating your body, not by lifting your head. I did this for weeks before full freestyle, and it fixed my breathing instantly.
As for tools: a kickboard is great for isolating leg work, but don’t hold it with straight arms—hold it at the top edge with your head down and exhale as you kick. A pull buoy between your thighs lifts your hips and lets you focus purely on arm technique. And fins? They’re not cheating. Short fins strengthen your kick and improve ankle flexibility, which makes every stroke more efficient. When I first used fins, I could swim twice as far with half the effort—and that confidence carried over to my non-fin sessions.
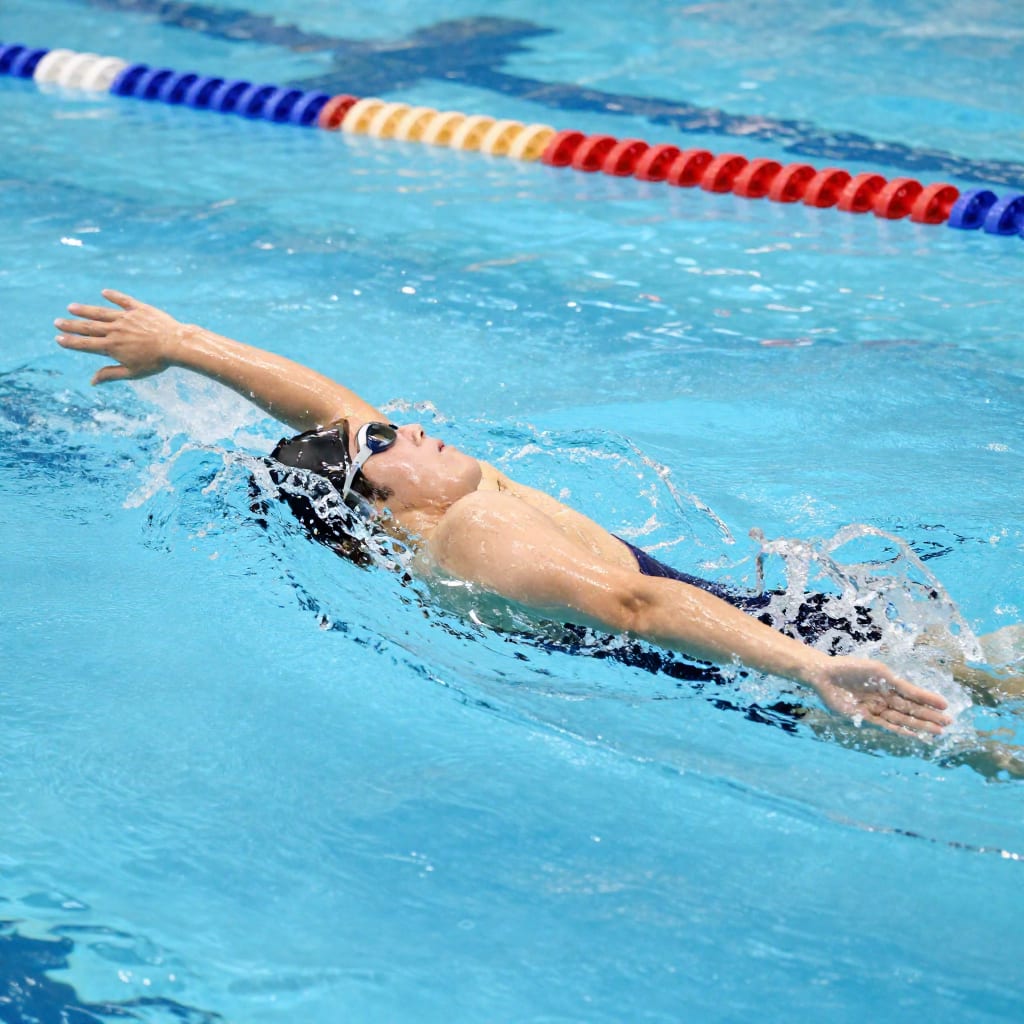
Tip #4: Build a Realistic Routine—How to Swim Without Getting Winded After 2 Minutes
The most discouraging moment for any beginner is that first lap when your lungs scream after 25 meters. It happened to me every time for the first month. The fix isn’t to push harder—it’s to pace smarter. Here’s the routine that finally let me swim continuously for 10 minutes without stopping.
Start with a 10-minute interval session. Swim one length (25 meters) using the survival stroke of your choice, then rest for 30–60 seconds. Repeat 4–6 times. Your goal is not speed—it’s completing each length without gasping. If you need to rest longer, rest longer. The key is to make the rest predictable: use a pace clock or the pool’s clock to time your rest intervals.
After a week or two, increase to two lengths (50 meters) with a 45-second rest. Then three lengths with a 60-second rest. Once you can do 100 meters with a 60-second rest, try a continuous swim at a very slow pace—think “snail’s pace.” For me, that meant taking 20 strokes per length instead of 15. Slow down your arm recovery, glide longer, and breathe every two strokes. You’ll be shocked how much farther you can go when you stop fighting the water.
Finally, listen to your breathing. If you feel breathless, slow down or switch to a rest stroke (sidestroke or backstroke). Never hold your breath—exhale continuously underwater. A good rule of thumb: if you can’t say your name out loud after finishing a lap, you’re going too fast. Swimming is about rhythm, not racing. The day I swam my first 400 meters without stopping, I wasn’t faster—I was calmer.
Bonus: What to Pack and Where to Go—The Realities of Pool Etiquette and Gear
Let’s talk logistics, because nothing ruins a beginner’s momentum like showing up unprepared or committing a lane-lane faux pas. First, choose the right pool. Look for a facility with a “learn-to-swim” program or at least a separate shallow area for lap swimming. Many YMCAs, community centers, and gyms offer adult beginner classes. Call ahead and ask when the slowest times are—usually mid-morning on weekdays.
Essential gear: a well-fitting pair of goggles (anti-fog is worth the extra few dollars), a swim cap (silicone is more comfortable than latex), and a suit that stays put—no loose straps or baggy shorts. I learned the hard way that baggy board shorts create drag and make you feel like you’re towing a parachute. A jammer or one-piece suit is best.
Pool etiquette can feel intimidating, but it’s simple. If you’re slow, stay to the right side of the lane. If someone taps your foot, let them pass at the wall. And never push off in front of someone who’s already swimming toward you—wait until they reach the wall. Most swimmers are friendly and were beginners once. When I accidentally joined the fast lane my first week, a kind woman said, “No worries, just stay right and take your time.” That grace made all the difference.
One last tip: bring a plastic bag for your wet suit and a towel that’s not too small. Nothing kills the post-swim glow like dripping through the locker room. And if your goggles fog up mid-swim, lick the inside of the lens—it works better than any spray I’ve tried.
Swimming as an adult beginner is humbling, but it’s also one of the most rewarding journeys I’ve ever taken. Every stroke you master, every length you complete, is a victory over that voice that says you can’t. So grab your goggles, find a pool, and start where you are. The water is waiting.
Frequently Asked Questions
Do I need to be able to swim at all before taking a class?
No—many adult beginner classes start with water comfort and floating, even if you’ve never swum before. Look for ‘Learn to Swim’ or ‘Adult Beginner’ programs.
How often should a beginner swim to see improvement?
Start with 2–3 times per week for 20–30 minutes. Consistency matters more than duration; even 10 minutes of drills helps build muscle memory.
Is it normal to feel out of breath after just one lap?
Yes—very common for beginners. Focus on exhaling fully underwater and using a slow, rhythmic breathing pattern. Use drills like ‘bobs’ to train breath control.
What’s the best stroke for a total beginner to learn first?
Elementary backstroke or breaststroke (with a pull buoy) are easiest because they keep your face out of the water and emphasize a steady, relaxed rhythm.
Do I need goggles and a swim cap right away?
Goggles are essential for comfort and visibility—chlorine irritates eyes. A swim cap helps keep hair out of your face and reduces drag, but it’s optional for the first few sessions.
Practical Takeaway: Start with water acclimation and breath control before any stroke work. Master survival strokes like elementary backstroke, use simple drills to fix form, and build endurance with interval training. Consistency beats intensity—two or three short sessions per week will transform your confidence and ability faster than you think.